My Google Searches

A running list of my searches and the results that helped me accomplish my tasks. |

How to download or save images from Google Slides

by

What I was after

I needed to save images that had been used in a Slides presentation that I no longer had locally.

The Result(s)

This tutorial from SoftwareHow had the answer.

The Important Bits

  1. If you don’t have editing permissions, make a copy of the presentation (File \ Make a Copy \ Entire Presentation).
  2. Make a new, blank Google Docs file.
  3. Copy the images from your Google Slides presentation and paste them into your Google Docs file (doesn’t matter what size you make them in the Docs file).
  4. When you’re done, in Google Docs, go to File \ Download \ Web Page (.html, zipped).
  5. You’ll end up with a ZIP file on your computer containing an images folder with all of the original resolution, uncropped images from your Slides presentation.
How to get video backgrounds to autoplay on mobile?

by

What I was after

It had been a while since I’d done a video background on a web page and I noticed the autoplay function wasn’t working on mobile. What did I need to tweak to get that to work?

The Result(s)

This answer from Filipa on the webflow forum did the trick.

The Important Bits

<video autoplay playsinline muted loop poster="posterURL">
  <source src="mp4URL" type="video/mp4">
  <source src="webmURL" type="video/webm">
</video>

It’s important to set your video to muted and to include the playsinline property for the video to play automatically on mobile devices as well as desktop.

How to remove the reCAPTCHA badge in WordPress from pages that aren’t using reCAPTCHA?

by

What I was after

I recently upgraded to reCAPTCHA v3 with my site’s contact form and it annoyingly injected the reCAPTCHA badge on all of my site’s pages rather than just the ones that are actively using reCAPTCHA.
I was looking for a way to only show the badge on my Contact page.

The Result(s)

I came across this video by WordPress Tutorials – WPLearningLab, but their method no longer worked. I used it as a base for my own modified method.

The Important Bits

  1. Go to your WordPress theme’s CSS folder and add a new file with the following CSS (I named my file decaptcha.css):
     
    .grecaptcha-badge { visibility: hidden; }
  2. Edit your theme’s functions.php file and insert this string at the bottom of the file above the final ?> line:
     
    // Remove recaptcha tag from all pages but contact page
        add_action('wp_print_scripts', function () {
        //Add pages you want to allow to array
        if ( !is_page( array( 'contact' ) ) ){
        wp_enqueue_style( 'catcha-style', get_template_directory_uri() . '/css/decaptcha.css' );
        }
        });
  3. You may want to edit two things – 'contact' should be the slug of the page you want the reCAPTCHA badge to appear on and your CSS directory and the name of your “decaptcha” CSS file may be different.

Now the reCAPTCHA badge will only appear on the contact page. Hiding the tag via CSS is the Google-approved approach.

How to access Docker containers behind another Docker’s custom network remotely over VPN?

by

What I was after

So, you’re running Unraid and you have a few Docker containers that are using another Docker as their Network Type (say, to use that container’s encrypted traffic connection) – how do you access those Docker containers and their Web UI remotely over VPN? The default behaviour when using WireGuard to connect to your network remotely is that those containers wouldn’t be accessible.

[Here’s how to set up WireGuard on Unraid if you don’t have that bit in place yet.]

This issue seems pretty niche, but it impacts a lot of people and it’s hard to Google.

The Result(s)

Reddit user Adeon_eu to the rescue.

The Important Bits

  1. Go to WireGuard (for me, this was easiest to do on my phone’s WireGuard app) and get the Local tunnel network address (listed as Addresses under the Interface field on the WireGuard iOS app).
     
  2. Edit the parent docker whose network the other dockers are using and add the address to the LAN_NETWORK field, keeping the existing entry and adding the new IP range after a comma.
     
    • For example, maybe the LAN_NETWORK field was 192.168.1.0/24 and your WireGuard’s address is 10.253.0.0/24, the new entry for the LAN_NETWORK field should be 192.168.1.0/24,10.253.0.0/24.

Now you’ll be able to access those child Dockers when you’re away from home.

“How to bulk upload emojis to Slack”

by

What I was after

I recently found a pack of Rick & Morty emojis that I wanted to add to our team’s Slack, but I didn’t want to have to upload files and name them one at a time.

The Result(s)

I quickly found a good resource courtesy of ManyChat that pointed me to a Chrome Extension that would do the trick.

The Important Bits

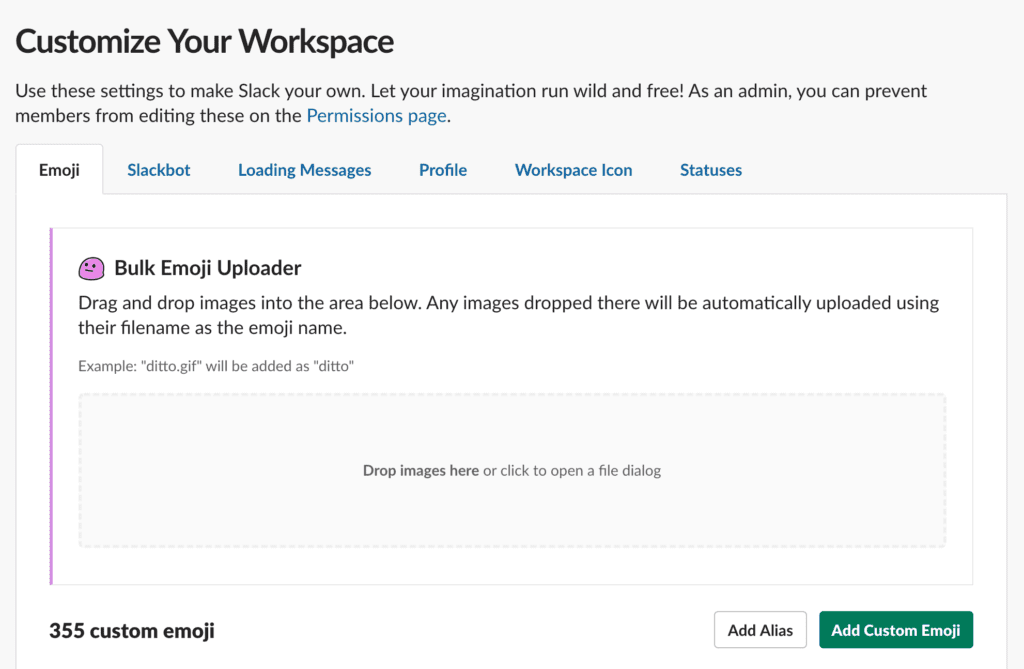
This missing Slack functionality is enabled very simply through the Chrome Extension Neutral Face Emoji Tools.

This extension enables a bulk uploader directly in the Slack customizer page above the normal Add Custom Emoji action. It allows you to drag-and-drop files from your computer to Slack, naming the emojis according to your file names: “make sure that the image files are named what you want the emoji name to be (“ditto.gif” will become “:ditto:”).

Drag them into the bulk uploader and you’re done! Simple as that. Much faster than the built-in manual process.

“What to do if you get a 500 error when trying to access your WordPress Dashboard”

by

What I was after

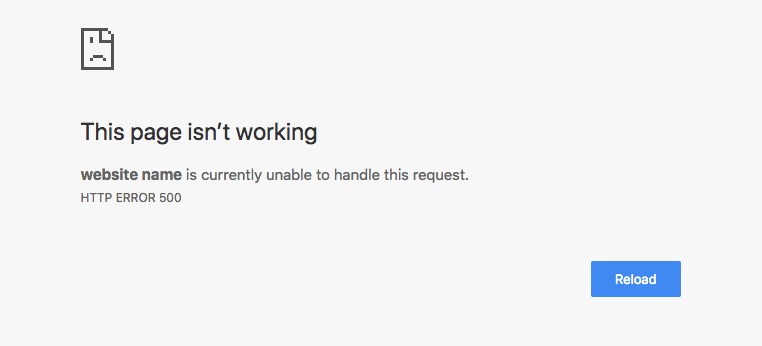
Recently, I was trying to access the WordPress Dashboard of a site I hadn’t worked on in a while. Unfortunately, while the main site was working, I got a 500 error when trying to reach the Dashboard or Admin area of the site. My goal was to regain access without losing anything in the process.

500 error received when trying to access WordPress Dashboard area

The result(s)

There were some interesting resources on the 500 error as it relates to WordPress, but none of them actually had a solution that worked for me (I tried manually upgrading my version of WordPress, removing the Plugins, and Deleting the .htaccess file to no avail).

The important bits

In my case, the site was using an older version of WordPress (4.3.16) but I was running a recent version of PHP on my host (7.1). Temporarily changing my PHP version down to 5.5 allowed me to regain access to the WordPress Dashboard of the site. I upgraded the site to the latest version of WordPress through the Dashboard, updated my plugins, and then switched by PHP version back to 7.1 and have been able to maintain Dashboard access.

Strange that manually upgrading the WordPress version to the most recent release through FTP didn’t fix it and that it had to be upgraded when the PHP version was set to the older version, but this is what fixed it and everything is accessible now, so I’m not complaining and I hope this weird experience helps someone else in the same boat.

“What’s the best thing to cook in with a sous vide?”

by

What I was after

Inspired by my recent love of cooking elaborate meals, I bought a sous vide (here’s a good description of why someone might want to do that and what it is, if you’re interested). After cooking my first meal using a regular pot, I thought surely someone had thought of a more manageable way to cook with this instrument and I was right.

The result(s)

Anova, popular sous vide manufacturer, had published a helpful guide in their blog called Making the Most of Your Sous Vide Container or Vessel – Part 1 by Chef Nicole.

The important bits

After sifting through all of the information and comparing Amazon reviews, here’s the long story short version of where I netted out with my setup:

  • The best things to cook in are the large Rubbermaid tubs (or Rubbermaid Commercial Space Saving Food Storage Container, for long).
    • I recommend the 12 quart or the 18, the Anova can handle a maximum of 20 quarts of water
    • The 18 quart requires a lot of water (maybe obvious), which is excessive for a lot of meals, so I prefer the 12 (I bought both)
    • Always cook with the container on a trivet
    • For our purposes, we won’t worry about the type of plastic Amazon reviewers are concerned Rubbermaid is using for these tubs as our food will never come in direct contact with them
  • Get the Rubbermaid lid too (this one fits both the 12 quart and 18) and cut a hole in it for your sous vide to poke out; this’ll help retain heat.
  • Get this rack (Seville Classics SHE14050 Kitchen Pantry Organizer) to go in the tub to clip your food to, it’s prevents your food from floating around.
  • Buy some clips to clip your ziplock or heat-sealed bags to the rack.

This is what my setup looks like in both the 18 quart and 12 quart varieties – totally worth the investment in the extra gear for me:

This slideshow requires JavaScript.

Note: This post is not sponsored, it falls under the same “I researched this, so maybe other people might be interested too” stream of thought as the rest of this site. I did use affiliate links for the Amazon products because, why the heck not? But these are the actual items I bought and use.

“How to mass-delete old Tweets on Twitter?”

by

What I was after

Like a lot of people who joined Twitter when it first started picking up steam, I used it for a lot of stupid status updates much in the same way that people used Facebook statuses. It was time to do a purge. But going through your Twitter history and deleting old tweets one at a time is a pain in the neck; surely there must be an easier way…

The result(s)

I stumbled upon Cardigan: a no bullshit tweet purger with a simple mantra, “Cardigan helps you find and delete old tweets.”

The important bits

Basically, with Cardigan, you authorize their web app to access your Twitter account, it imports all of your tweets into their system, and you can go through and multi-select old messages and mass delete them. It really is a no-frills system, so there’s not a lot of room for confusion.

Two notes worth mentioning:

  1. Your old Twitter messages may be deleted from your profile, but they likely still exist in an archive of the web somewhere. This will just help the embarrassing ones to not be so easily and readily available and associated with your profile.
  2. You may want to revoke access to Cardigan in Twitter after you’re done purging to play it safe.

Happy purging.


“How to backup Android Wear 2.0”

by

What I was after

I was upgrading my phone and had forgotten the extreme annoyance of not being able to migrate my watch to the new phone without factory resetting it. I was looking for a way to backup the device so that I didn’t have to reinstall apps and set all of my preferences over again.

The result(s)

The first result that popped up promised an even better solution, “Pair Android Wear Watches to New Phones Without Factory Resetting” on the XDA developers forum by Adam Conway. I figured that, if this worked, it’d be even better than a backup / restore, since Android devices are notoriously bad at doing thorough 1-for-1 restorations (part of the headache of getting a new phone).

The important bits

The solution involves using Android Debugging Bridge (ADB) commands to trick your watch into forgetting your previous device and opening up the pairing function again. It’s straight forward enough that anyone can do it if they follow the instructions attentively. It worked for me on Moto 360 2nd gen running Android Wear 2.7.

  • Download ADB tools. Adam recommends the third-party Minimal ADB and Fastboot Kit (Windows), but you can get the tools from Google for free as well.
  • On your watch, go to Settings \ System \ About and tap Build number until you see a notification that says “You are now a developer.”
  • Go to Settings \ Developer options and enable ADB debugging and Debug over Wi-Fi – wait until you see an IP address appear under the toggle.
  • Open ADB on your computer, you should see a command line, and type:
    adb connect 192.168.1.100:5555

    Replacing the IP address with the one shown on your watch and press Enter. Accept the prompt on your watch to connect.

  • Disable Bluetooth on your phone.
  • In ADB, type:
    adb shell "pm clear com.google.android.gms && reboot"

    Press Enter. Your watch will hang for a minute and then it should reboot.

  • After your watch is running again, connect to it in ADB like you did in step 4, accepting the prompt on the watch to connect.
  • In ADB, type:
    adb shell "am start -a android.bluetooth.adapter.action.REQUEST_DISCOVERABLE"

    Press Enter.

  • After a moment, toggle Bluetooth back on on your phone and open the Android Wear app to pair your watch as if you were pairing a new device. It should be discoverable and pair without a hitch. It did ask me to re-sync my Google account, but ultimately the watch is working with the new phone and nothing on the watch itself changed or had to be recalibrated.

Check out Adam’s original post for more context and an explanation for why this works.

“How to automatically add version to WordPress CSS”

by

What I was after

On a site that I had in beta, I was making (relatively) frequent changes to the CSS file, but had caching enabled on the server. So that visitors would benefit from always loading the most recent version of the page’s CSS (and not a stale copy that might have had a few unintended behaviours), I wanted to add a version number to the CSS file in my theme’s header.php file. I didn’t want to use the day’s date as the version number (a frequent Google solution), for example, as that could be taxing on the server, and I didn’t want to modify it manually every time I updated the CSS file. So it seemed that the easiest and best way would be a lightweight way of calling the file’s last modified date and appending it to the file name.

The result(s)

After a few searches, the best option for the way the site had been set up was the first result for “add file modified date to css wordpress”, which was Force CSS changes to “go live” immediately by Mark Jaquith. His solution is simple, automatic, and quick to apply.

The important bits

Of course, the code might change slightly based on how you have your stylesheets set up relative to your theme folder (so modify it based on where you have your CSS file stored and what you’ve named it), but in essence, simply replacing your normal <link rel=”stylesheet” href=”xyz.css” type=”text/css” /> with the following works like a charm:

<link rel="stylesheet" href="<?php bloginfo('stylesheet_directory'); ?>/styles/main.css<?php echo '?' . filemtime( get_stylesheet_directory() . '/styles/main.css'); ?>" type="text/css" />

The above generates the following call on the front end, notice the version number that I’ve bolded:

<link rel="stylesheet" href="http://YourDomain.com/wp-content/themes/YourTheme/styles/main.css?1467917567" type="text/css">

When a new main.css file is uploaded, the version number will change automatically and the visitor’s browser will load the most recent version automatically. Thanks, Mark!